
The small job that prevents the big repairs — a homeowner’s guide from the inspection field
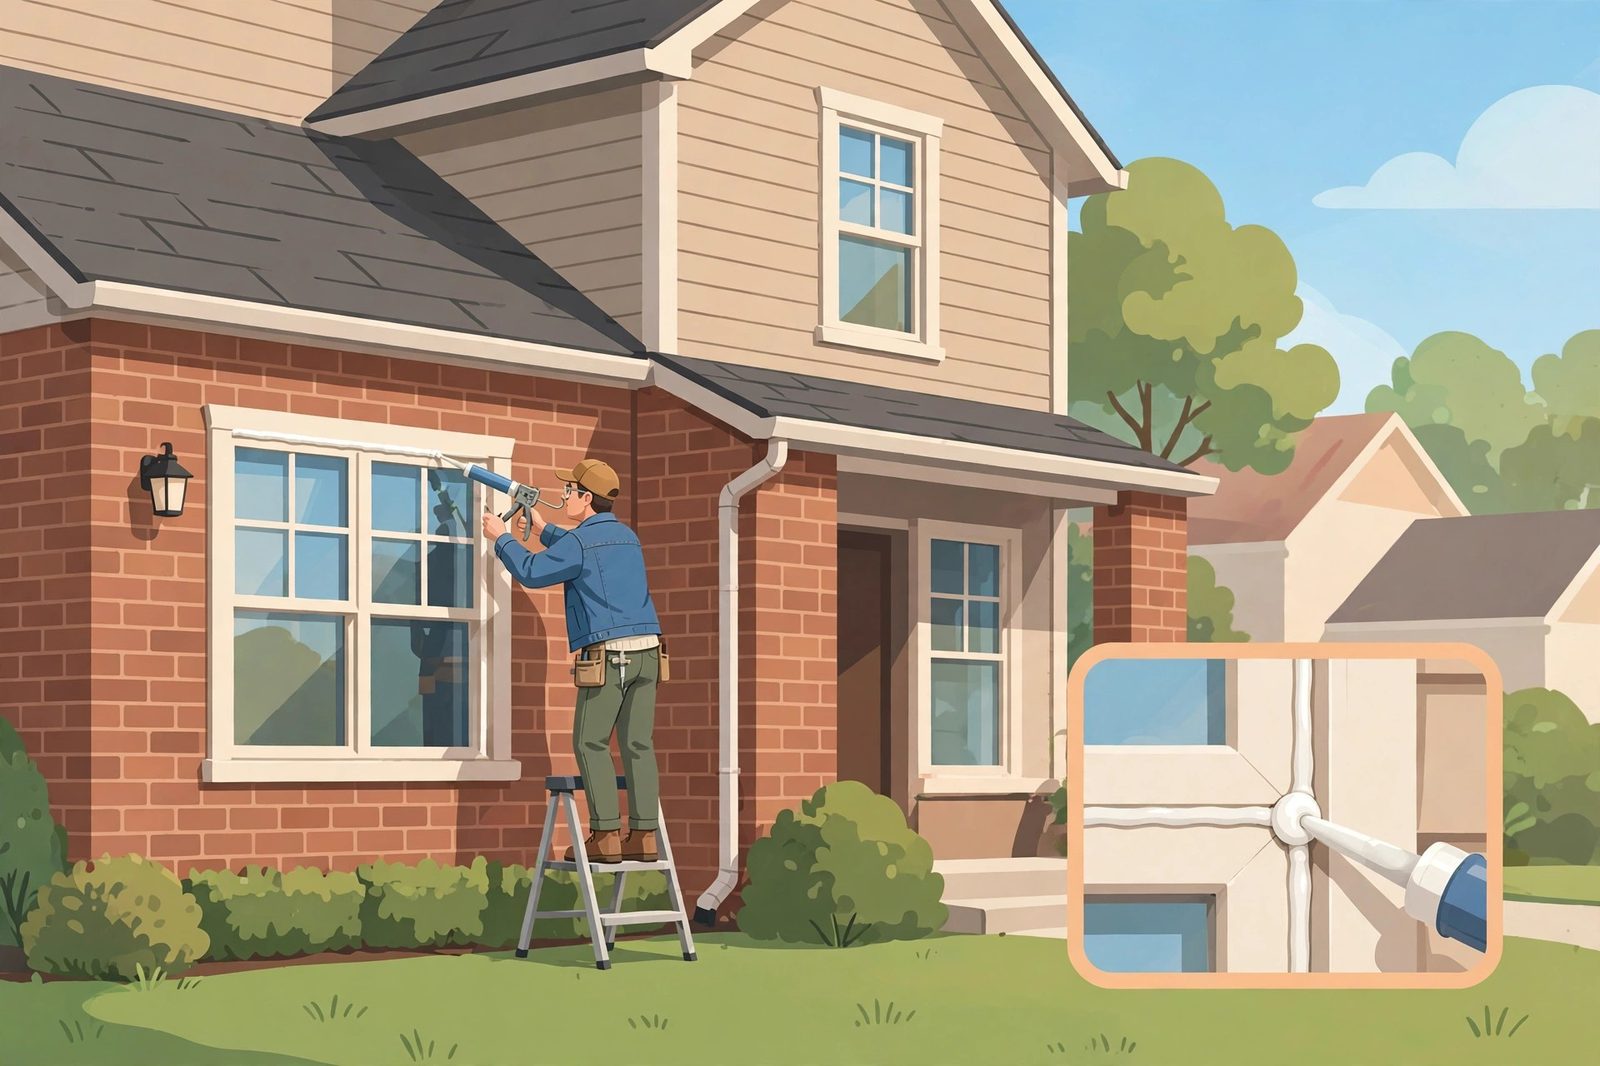
Ask a home inspector where expensive damage starts, and you will rarely hear “the roof blew off.” More often, it starts with a crack you could cover with your thumb: a split bead of caulk around a window, a gap where a hose bib meets the siding, a joint that opened up and quietly let water in for two or three seasons.
Sealing the exterior is not glamorous work. It is also one of the highest-return jobs a homeowner can do. A few tubes of the right sealant and one careful afternoon can prevent rotted framing, mold, pest entry, and drafts that drive up energy bills month after month. This guide covers where exteriors actually fail, how to pick the right product, how to apply it so it lasts, and — just as important — what to never seal shut.
Water always wins if you give it an opening
Your home’s exterior is a system. Siding, brick, trim, flashing, and sealant all work together to shed water away from the structure. Sealant is the flexible part of that system — it fills the joints where two different materials meet and move at different rates as temperatures change.
When that sealant fails, water does not need much of an invitation. Wind-driven rain pushes into gaps a fraction of an inch wide. Once inside a wall, water has nowhere to dry, and the damage stays hidden until it is no longer cheap: soft or rotted sheathing and framing, insulation that loses its effectiveness when wet, mold growth inside the wall cavity, and paint and siding that fail from the inside out. Gaps are also an open door for insects and other pests, and every unsealed joint around windows and doors leaks conditioned air in both directions.
Oklahoma weather makes this worse, not better. Hot summers bake and shrink sealant, spring storms drive rain sideways, and freeze-and-thaw cycles work joints open a little more each year. Sealant here is not a set-it-and-forget-it product — it is a maintenance item with a lifespan, and it needs to be checked like one.
The places your exterior is most likely to leak
Failures are not random. On inspection after inspection, they show up in the same predictable spots. Walk your home and check these first:
- Windows and doors — the perimeter where the frame meets siding or brick, especially on the sides that take the most sun and storm exposure.
- Siding and trim joints — corner boards, butt joints in lap siding, and the joints where trim meets siding.
- Penetrations — every place something passes through the wall: hose bibs, outdoor faucets, electrical boxes and conduit, light fixtures, vents, and air-conditioning lines.
- Roof-to-wall transitions — where a roof meets a wall, where two rooflines join, and around chimneys. If sealant is the only thing holding water out at a flashing joint, that joint needs professional attention, not just more caulk.
- Concrete and masonry joints — joints in patios, porches, and walkways where they meet the house, which can channel water toward the foundation if they open up.
Look for sealant that is cracked, pulling away from one side, missing in sections, hard and brittle, or visibly separated from the surface it should be bonded to. Any one of those means the joint is open, even if it still looks “mostly filled.”
Pick the right sealant for the job
The cheapest tube on the shelf is usually the most expensive choice outdoors. Inexpensive painter’s latex caulk is made for interior trim; outside, it tends to crack and fail quickly. For exterior joints, choose a product that is rated for exterior use, stays flexible, and is compatible with the materials on both sides of the joint.
| Sealant type | Best for | Keep in mind |
|---|---|---|
| Polyurethane | Siding, trim, masonry, wide and moving joints | Very durable and paintable; messier to apply and clean up |
| 100% silicone | Metal, glass, gutters, non-porous surfaces | Excellent water resistance; most types cannot be painted |
| Hybrid / advanced polymer | Most exterior joints, mixed materials | Paintable, flexible, good all-around choice for homeowners |
| Elastomeric latex | Narrow siding and trim joints | Easy water cleanup and paintable; check the exterior rating |
Two rules cover most mistakes. First, match the sealant to the surface — silicone on a joint you plan to paint will leave you with paint that will not stick. Second, for gaps wider or deeper than about half an inch, push a foam backer rod into the joint first. It gives the sealant the right depth, helps it flex instead of tearing, and uses far less product.
If your home has fiber-cement, stucco, or a manufacturer-installed siding system, check the manufacturer’s guidance before you start. Some systems specify exactly which joints get sealed and which are left open on purpose — which brings us to the most common sealing mistake of all.
How to reseal it right, step by step
New sealant fails early for one main reason: it was applied over a dirty, wet, or deteriorated joint. The preparation takes longer than the application, and it is the part that determines whether the job lasts one year or ten.
- Remove the old material. Cut and scrape out all cracked, loose, or failed sealant with a utility knife and a scraper. New sealant does not bond reliably to old, failed sealant.
- Clean and dry the joint. Brush out dust and debris, then wipe the joint clean. The surface should be dry — schedule the work after at least a day without rain.
- Add backer rod if needed. For deep or wide gaps, press foam backer rod into the joint so the new sealant has a proper depth to bond to.
- Mask for a neat line. Lay painter’s tape along both sides of the joint if you want a clean, straight edge — especially on brick and visible trim.
- Apply a steady bead. Cut the tip at a 45-degree angle, slightly smaller than the joint. Apply a steady, continuous bead while moving at an even pace, pushing sealant into the joint rather than laying it on top.
- Tool the bead, then pull the tape. Run a gloved finger or a caulking tool along the bead once to press it into both sides and smooth it. Remove the tape while the sealant is still wet.
- Let it cure. Let the sealant cure for the time stated on the tube before painting or exposing it to heavy rain. Rushing this step undoes good work.
Work in mild weather when you can. Very hot, direct sun can skin sealant over before you tool it, and cold temperatures slow curing. A dry morning in spring or fall is ideal Oklahoma sealing weather.
What never to seal shut
This is the part most do-it-yourself guides leave out — and the part an inspector notices first. Some openings that look like gaps are working parts of the drainage and ventilation system. Sealing them traps water inside the wall instead of keeping it out.
- Weep holes in brick — the small gaps at the bottom course of brick veneer. They let water that gets behind the brick drain out. Sealed weep holes are a direct route to trapped moisture and damaged sheathing.
- Flashing drainage gaps — the bottom edge of window and door flashing is designed to let water escape. Seal the top and sides of trim; leave drainage paths at the bottom open where the system calls for them.
- Siding and soffit ventilation — the horizontal joints and vents built into some siding and soffit systems allow airflow and drainage. If you are unsure whether a gap is intentional, ask before you fill it.
A simple rule: seal joints where two surfaces meet and water can enter. Do not seal an opening that was clearly manufactured or installed as a drain or vent. When in doubt, take a photo and ask a professional — that question costs nothing, and un-sealing a mistake costs time and money.
A 30-minute seasonal check that catches it early
You do not need a ladder or a toolbox for the check itself — just a slow walk around the house, twice a year. In Oklahoma, the natural times are early spring, before storm season, and fall, before freezing temperatures arrive.
- Walk the perimeter and look at every window, door, and penetration listed above. Note any sealant that is cracked, separated, or missing.
- Check the sun-baked south and west sides extra carefully — ultraviolet exposure breaks sealant down fastest there.
- Look for staining, peeling paint, or soft trim below a joint. Those are signs water has already been getting in, not just a risk that it might.
- After a heavy rain, look again. Active drips and wet siding below a joint tell you exactly where the system is failing.
- Write down what you find, with the side of the house and the location. A short list turns a vague worry into a single Saturday job — and gives a professional a clear scope if you hire it out.
Caught at this stage, the fix is a tube of sealant. Caught three years later, the same joint can mean siding removal, sheathing replacement, and mold remediation. The inspection is cheap insurance either way.
When to call a pro — or get an inspection
Plenty of sealing is honest do-it-yourself work: accessible windows and doors, siding joints you can reach safely, and small penetrations at ground level. Call a professional when the joints are two stories up, when flashing or roofing is involved, when you find soft or rotted wood behind a failed joint, or when sealant failure is widespread rather than isolated — widespread failure can point to a larger installation problem that more caulk will not fix.
If you are buying or selling a home, exterior sealant condition belongs on your radar, too. It is a routine part of a home inspection for a reason: it is one of the clearest indicators of how a home has been maintained, and one of the best predictors of hidden moisture damage. A failed joint on the outside is often the first visible sign of a problem that has been developing out of sight.
Seal the openings that let water in. Leave open the ones designed to let it out. Check both twice a year. Do those three things, and your home’s exterior will do the job it was built for — keeping Oklahoma weather outside, where it belongs.
Need a second set of eyes?
Sure Foundation Home Inspections — The Happy Home Inspector™ — serves Oklahoma City and the surrounding area. If you’re buying, selling, or just want to know where your home stands, schedule an inspection or call 405-430-8971.
Maintenance note: Product names and lifespans vary by manufacturer. Always follow the application, curing, and compatibility instructions on the sealant you choose, and follow ladder and tool safety guidance for any work above ground level.